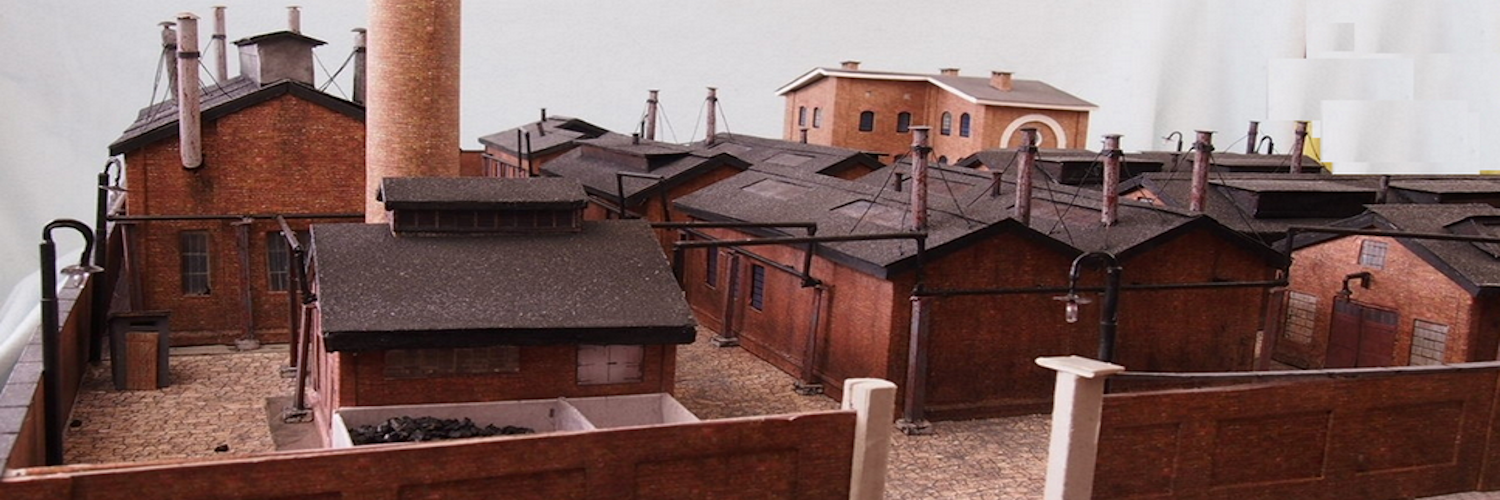
Step by step tutorial on making s shelf layout.
This page is work in progress as we add video tutorials. Start by watching the videos that we have in place now and then come back as we update.
Video Series On Building A Layout
[embedyt] https://www.youtube.com/embed?listType=playlist&list=PLLYkOTQM-OSV5Ed5oKBRUkiZYSSUrqXhO&layout=gallery[/embedyt]
Track Planning Shelf 1
Shelf 1 Modules
Each module will have its own turnout and cab/block control panel. Blocks will be assignable to cab 1 or cab 2 and may be turned off to allow locos to be stored in location.
Engine Control
Analog control.
Turnout and signal light Control
Arduino uno controlled slow moving servos with signal lights on shift registers. Signal lights on each leg of turnout and position indicator lights on control panel. Servos will be actuated by momentary contact buttons.
Cab Plan
Two cab
Track Plan

There are two modules on shelf 1. The vertical line in the center of this image shows the module boundary.
Mainline block signal lights are shown. Spur signal lights are not shown.
Shelf 2 and shelf 3 track plans are not yet completed.
Block Occupation
A modular uno based block detection system will be used for the main line.
Spurs will have signal lights that are independently changed by a manual switch. When the block is powered, the light will be green. When it is turned off, the light will be red.

The basic layout that we will be building.
Adding mock-ups to confirm track plans
Marking switch machine actuators
Marking Signal Lights
Fixing Track In Place
Making Block Signal Control Boards
Installing Switch Machines

