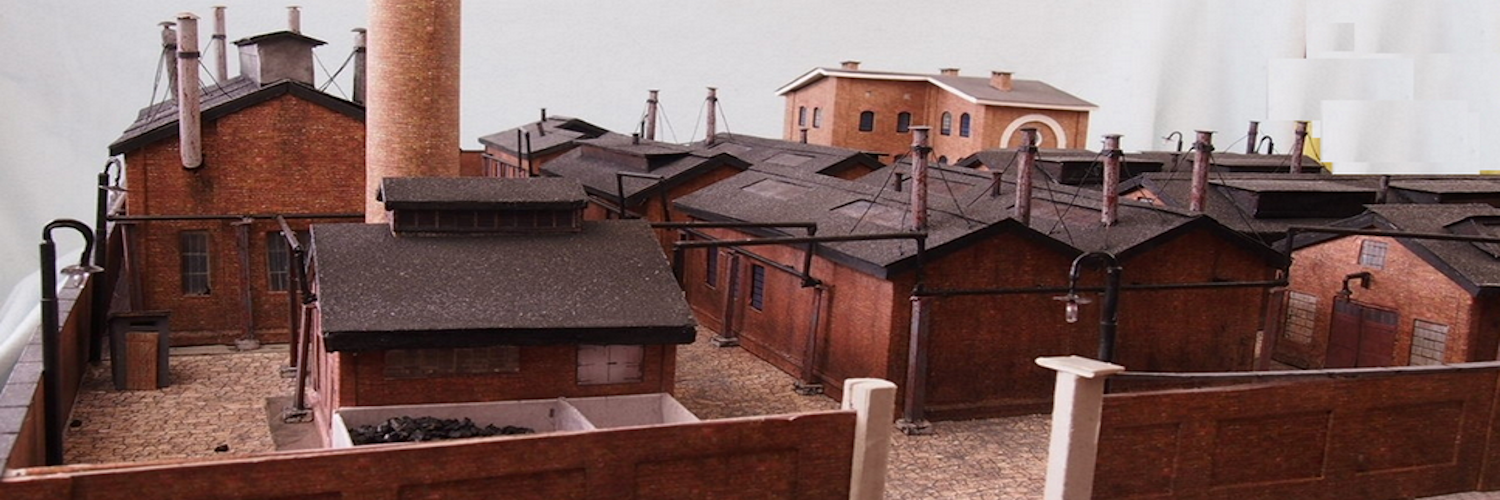
How to make a scale model window or door arched lintel. A step by step guide to making arches using Inkscape.
This guide is for the small arches that you see in the top row of this building. The larger arches are made following a different procedure that you find in our Inkscape series that you find here.
 Step By Step How To Make Arches
Measure the height and width of the arch over which brick will be placed. It must be in mm for the scale of your model.
Measure the height and width of the bricks/stones that you will put over the arch.
In inkscape select circle and in the toolbar select the arc button.
Draw the arc. It will be upside down.
Go to object and flip it vertical.
Use the fill and stroke tool to delete the fill and leave only the stroke.
Enter the height and width of the arch.
Import your texture as a .bmp file.
Enter the height and width of the bricks/stones.
Draw a square. In fill and stroke, no stroke, fill.
For this square, enter the height and width of the bricks/stones.
We now have to clip the image to turn it into a path.
Select that square (we will call it the “clip path”) and go to path, object to path.
Move that “clip path” square into position on the image.
Go to object, clip, set clip.
Your bmp is now a path.
Group it. Note that after grouping, in order to move the path nodes, you will have to double click on the image.
Now select the image and be sure it is on top. Go to the toolbar and click on the move to top icon.
Select the image and arc.
Go to Align And Distribute
Select the arc and image.
Center the image over the arc.
Go to Extensions/generate from path/scatter
Select follow path orientation, xxxxx spaces
When you generate the arch following the procedure below, you may find that the bottom of the image is below the arc. You correct this by increasing the value in VVVVV
To generate the arch:
Select both objects.
Go to Extensions/generate from path/scatter.
Select
At this point you make adjustment for the position of the bottom of the image. If you make your arch and the position is incorrect, Control Z, make a guess and try again. Repeat this until it is right.
Your arch will have gaps between the bricks. Double click on the image so you can use the node tool to make adjustments. And select the image and scale it. Alternate this process to get the look that you want.
Move the bricks off the arc.
Move the arc and image off the page.
Copy the arch ( Select and CTRL D) to make the number you need for your model.
Use the text tool to record all the dimensions you used and the use of this arch.
Save your file.
Title: Enhancing Model Buildings with Brick and Stone Arches and Lintels
Introduction
Incorporating Brick and Stone Arches and Lintels into Model Buildings
1. Planning and Research – Begin by researching the architectural style of the building you wish to replicate in your model. Study reference images and blueprints to understand the placement and design of arches and lintels.
2. Building the Structure: Construct the basic structure of the model building using your preferred material. Whether it’s foam board, balsa wood, or any other suitable material, ensure it is sturdy and accurately represents the scale of the original building.
3. Adding Lintels: Lintels are horizontal supports placed above openings such as doors and windows. Cut and shape miniature bricks or stone veneer to create the lintel. Adhere it securely above the opening to provide structural support and aesthetic value.
4. Finishing Touches: Once the arches and lintels are in place, carefully paint and weather them to match the desired appearance. Pay attention to details like texture, color, and weathering to achieve a realistic effect. Consider adding moss or ivy to replicate the passage of time and create a weathered, historic look.
- “Mastering the Art of Creating 3D Arches for Model Buildings”
- “Step-by-Step Guide: Crafting Realistic Arches for Model Structures”
- “Unleash Your Creativity: Building Dynamic 3D Arches for Model Making”
- “Model Building Techniques: Adding Depth with 3D Arches”
- “Creating Stunning Architectural Details: 3D Arches for Model Enthusiasts”
- “Enhancing Model Realism: DIY 3D Arches for a Lifelike Effect”
- “Unlocking Architectural Magic: How to Make 3D Arches for Model Designs”
- “Taking Your Model Building to the Next Level: Crafting Dimensional Arches”
- “The Art of Illusion: Adding Depth with 3D Arches to Model Structures”
- “Building Perspectives: Mastering the Technique of 3D Arches in Model Making”

