

How To Customize The Diorama Event Timer Program
What’s In This Page
How to adapt the Diorama Event Timer program to your requirements.
If you are using a phone, at the bottom of the page there are links to many supplies for modelers. Otherwise those links are in the sidebar to the right. You can also find other information by using the search function that is in the navigation bar above.
Also In Addition To What’s In This Page, What This Site Can Do For You
If you are a model train enthusiast, modeler, diorama maker, or interested in making Arduino projects the easy way, there is categorized information for you here. Click Here.
The Latest Information
Anything new and page updates are posted on Twitter (now X) and Facebook.
It is easy to keep up with the latest by following us on either of them.
The program
The program used in this example is the Event Timer Kit Program. Get a copy of that program here.
The Event Timer Circuit Board Used is described here.
The circuit board controls an WS2812b LED strip.
In the program, NumLEDS relates to your WS2812b LED strip. Change it to match the number of LEDs you use on your strip. Currently it is set for a strip with 27 LEDS.
MaxBrightness is related to your WS2812b LED strip. It is defaulted to 100. It can be set from 0 to 255. The higher the number the higher the current draw. Since the strip draws directly from the power source rather than the Arduino board, you will not overpower the Arduino board.
The gradient pallet is defaulted to a lighting cycle that we have found, after much experimentation, quite satisfactory. You can, of course change that.
You can change that by going here. Adjust the setup to match your desires.
Leave the pallet code in the loop unchanged.
Now that the LED strip is set up, we move on to controlling other animations in your scene.
Events
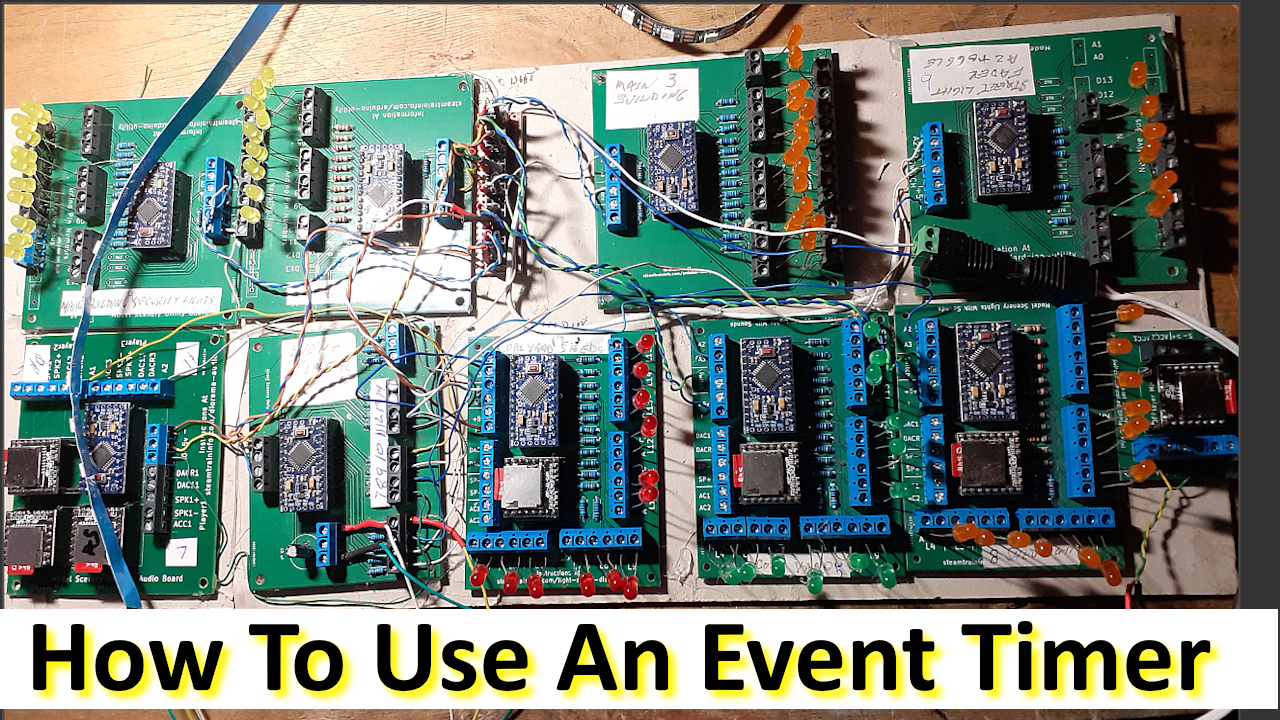
Screw terminals on the board allow you to to control up to 11 events. Each of these connectors will connect to another Arduino Board that is loaded with its own programs. The terminals go HIGH and LOW as instructed by their respective controlling functions.
The Event Timer Kit Program is wired to control 7 events using functions..
They are:
#define mainbuildingLights 3
#define mainsecurityLights 4
#define coalyardsoundwithLights 5
#define generalbackgroundSounds 7
#define shedlightswithsounds 8
#define streetLights 9
#define backgroundsounds2 10
**************************************************
 This video shows the program working as is is when you download it. Click Here
********************************************************************
Change the names of the functions to match your desires.
You can add up to 11 functions. Set the stop and start times of functions by following the directions below.
Here is an idea as how it is done.
Event Timer Settings
The Event Timer Kit Program loops on a 24 hour cycle.
This is the code that sets how long it takes in real time for the program to loop through the 24 hour cycle. This example takes 30 minutes to loop from midnight to midnight. The comments in the code tell you how to change the real time of that loop.
#define FASTLED_INTERNAL
#include <FastLED.h>
int num = 6; //setting this to 6 sets int32_t interval t0 3000. The loop lasts about 30 minutes. Thange this number to change the real time period for your 24 hour cycle.
int32_t interval = (int32_t) num * 500; /* Ssetting num to 6 in the line above makes a 1/2 hour cycle . num is an int, The calculation when done acts as an int and overflow. The (int32_t) converts it to the larger type, so the result of the calculation fits and doesn’t overflow.*/
Stopping And Starting An Event/Function
Starting or stopping an event at a given time is done by establishing the decimal equivalent of that time related to a 24 hour period and using that decimal in a function in the code that is related to the code.
To start, one sets 0000 am as 0 and 2400 as 1.
So, 0700 is 7/24 or .29 . 1300 is 13/24 or .54 .
Each event in the code is controlled by a function that is similar to this.
For an event to start at 0700 and run until 1300, the code looks like this.
//********************************************************
// district4buildingLightsCycle
void district4buildingLightsCycle() {
int32_t localInterval = 2 * 240 * interval;
int32_t localTimer = millis() % localInterval;
if ((localTimer >= .29 * localInterval) && (localTimer <= .54 * localInterval)) {
digitalWrite(district4buildingLights, HIGH);
} else {
digitalWrite(district4buildingLights, LOW);
}
}
For an event stop run between 1300 an 0700, the code looks like this.
//********************************************************
// district4arcweldersCycle
void district4arcweldersCycle() {
int32_t localInterval = 2 * 240 * interval;
int32_t localTimer = millis() % localInterval;
if ((localTimer <= .29 * localInterval) || (localTimer >= .54 * localInterval)) {
digitalWrite(district4arcwelders, HIGH);
} else {
digitalWrite(district4arcwelders, LOW);
}
}
Add or delete functions to your program as you wish,
To add a function, copy one of the above and paste it in the program.
name it, set the stop start times, define the pin name and pinMode, add it to the loop.
//********************************************************
// neweventCycle
void neweventCycle() {
int32_t localInterval = 2 * 240 * interval;
int32_t localTimer = millis() % localInterval;
if ((localTimer <= .SETTHIS * localInterval) || (localTimer >= .SETTHIS * localInterval)) {
digitalWrite(new event, HIGH);
} else {
digitalWrite(newevent, LOW);
}
}
**********************************
#define newevent PINNUMBER
********************************
***********************************
Feedback
Your questions and comments help us clarify and upgrade the information presented. Even if you find this helpful, please tell us.
Please let us know if this page has been helpful And if you have questions or suggestions, use this spam free system.
Or use the green WhatsApp button that is to the right.