

Bluetooth stereo audio transmitter and receiver 2-in-1 module board
What’s In This Page
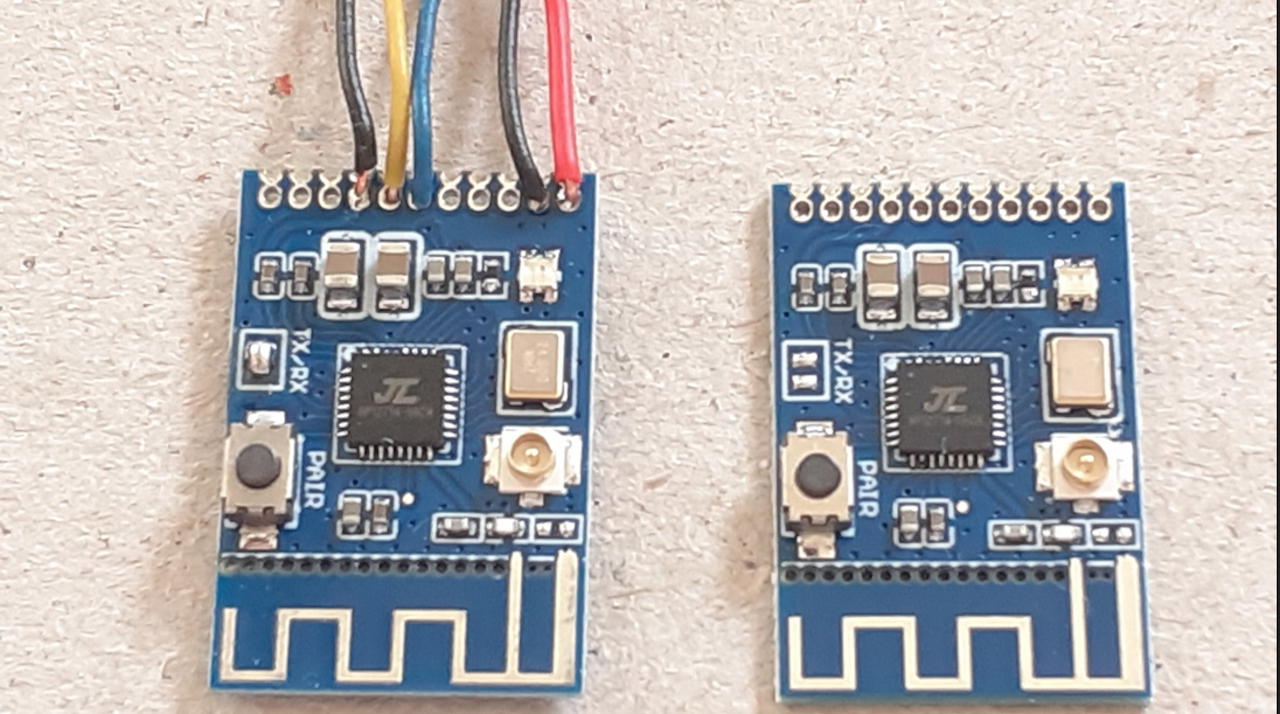
The KCX_BT_EMITTER module is a compact Bluetooth audio transmitter and receiver module widely used for DIY wireless audio projects. It supports Bluetooth audio streaming (A2DP) and can be wired with devices like audio players, amplifiers, and speakers to either transmit or receive Bluetooth audio.
In this page there is an illustrated step-by-step guide to using Bluetooth to transmit and receive audio. A video demonstration is also included.
f you are using a phone, at the bottom of the page there are links to many supplies for modelers. Otherwise those links are in the sidebar to the right. You can also find other information by using the search function that is in the navigation bar above.
Also In Addition To What’s In This Page, What This Site Can Do For You
If you are a model train enthusiast, modeler, diorama maker, or interested in making Arduino projects the easy way, there is categorized information for you here. Click Here.
The Latest Information
Anything new and page updates are posted on X (formerly Twitter), Rumble and Facebook.
It is easy to keep up with the latest by following us on either of them.
Free Help
KCX_BT_EMITTER Overview
- Bluetooth Version: 5.0 (in most variants)
- Modes: TX (Transmitter) and RX (Receiver)
- Audio Interface: Analog stereo (3.5mm jack or solder pads for L/R/GND)
- Power Supply: 5V DC
- Mode Switching: Via mode switch button
- LED Indicators: Shows mode and pairing status
- Audio Quality: It’s decent for casual use but may not match high-end DACs.
- Volume Control: Handled on the source (e.g., your phone) — module has no volume buttons.
- Range: Typically ~10 meters.
- Interference: Keep away from power converters and Wi-Fi routers for best performance.
Pinout and Connections
Typical KCX_BT_EMITTER modules have these pins or pads:
| Pin/Pad Label | Function |
|---|---|
+ / VCC |
+5V DC input |
- / GND |
Ground |
L |
Left channel analog audio |
R |
Right channel analog audio |
GND |
Audio ground |
KEY |
Button input (mode switch) |
Note: Some modules come with a 3.5mm TRS (audio) jack and micro-USB for power.
How to Use KCX_BT_EMITTER
The KCX_BT_EMITTER works in two modes:
1. Bluetooth Receiver Mode (RX)
- Streams Bluetooth audio to the module (e.g., from a phone).
- Audio comes out via the L/R/GND pins or 3.5mm jack.
- Used when you want to add Bluetooth input to a wired speaker or amplifier.
2. Bluetooth Transmitter Mode (TX)
- Streams audio from an analog source (audio player) to Bluetooth headphones/speaker.
- Connect your audio player to the L/R/GND pins.
- Audio is transmitted wirelessly to paired Bluetooth output devices.
Wiring KCX_EMITTER to an Audio Player (Transmitter Mode)
To send audio from an analog audio player (like MP3 player, CD player, or smartphone via headphone jack) to Bluetooth speakers/headphones:

Step-by-step Wiring (TX Mode)
| KCX__BT_EMITTER | Audio Player |
|---|---|
L |
Left out |
R |
Right out |
GND |
GND / Common |
+ |
5V DC |
- |
GND |
Powering the Module
- Use a 5V power supply (e.g., USB port, battery pack).
- Do not exceed 5.5V to avoid damage.
Operating in Transmitter Mode
- Long-press the
KEYbutton to switch to TX mode if not default. - Module will search for Bluetooth headphones/speakers to pair.
- LED will blink fast, then stay steady once connected.
- Play audio on the source device — it will stream to your Bluetooth target.
Using it in Receiver Mode (Optional)
If you want to receive Bluetooth audio from a phone and play it on wired speakers:
| KCX_EMITTER | Speaker / Amplifier |
|---|---|
L |
Left input |
R |
Right input |
GND |
GND / Common |
In RX mode:
- Power the module.
- It enters pairing mode.
- On your phone, connect to “BT_AUDIO” or similar.
- Music from your phone plays via the module’s analog output.
Example Wiring Diagram (TX Mode)
[ Audio Player ]
   L ---+
        |                [ KCX_EMITTER ]
   R ---+---(L)-------->       L
        |---(R)-------->       R
   GND ---------(GND)-->       GND

   +5V ---------(VCC)-->       +
   GND ---------(GND)-->       -
Pairing
Here’s a step-by-step guide to pairing two KCX_BT_Emitter modules with their respective Bluetooth receivers (speakers or KCX_BT_Receiver modules), assuming each is using a basic KCX_BT_Emitter module with a button for pairing and LED indicator:
Setup Overview:
- Audio Player 1 → KCX_BT_Emitter 1 → Bluetooth Speaker 1 / KCX Receiver 1
- Audio Player 2 → KCX_BT_Emitter 2 → Bluetooth Speaker 2 / KCX Receiver 2
What You’ll Need:
- Two audio players
- Two KCX_BT_Emitter modules
- Two Bluetooth receivers (or speakers with Bluetooth)
- Power supply for all devices (USB power or battery)
Step-by-Step: Pair KCX_BT_Emitter 1 to Receiver 1
Step 1: Power ON the Emitter and Receiver
- Plug KCX_BT_Emitter 1 into power and audio output of Audio Player 1.
- Power on Bluetooth Speaker 1 or KCX Receiver 1.
- Make sure they are not already connected to any other device.
Step 2: Enter Pairing Mode on the Emitter
- Press and hold the button on KCX_BT_Emitter 1 for ~5–7 seconds until the LED starts flashing rapidly (pairing mode).
- On some models, double-press may initiate pairing mode.
Step 3: Put Receiver into Pairing Mode
- Put Bluetooth Speaker 1 or KCX Receiver 1 into pairing mode (check manual; usually holding its button until the LED blinks).
Step 4: Wait for Connection
- After a few seconds, the KCX_BT_Emitter 1 LED will go solid (or blink slowly) once it’s successfully paired.
- You may hear a tone or see a “connected” light on the speaker/receiver.
Repeat for Second Pair
Step 5: Power ON the Second Pair
- Plug in KCX_BT_Emitter 2 to Audio Player 2, and power it.
- Power on Bluetooth Speaker 2 or KCX Receiver 2.
Step 6: Enter Pairing Mode
- Hold the button on KCX_BT_Emitter 2 until it blinks rapidly.
- Put Receiver 2 or Speaker 2 into pairing mode.
Step 7: Wait for Connection
- Wait for the emitter and receiver to pair.
- LED will become solid or slowly blink once connected.
Test Audio
- Play audio from Audio Player 1 — you should hear it only on Speaker 1.
- Play audio from Audio Player 2 — it should play only on Speaker 2.
Tips to Prevent Cross-Pairing:
- Power and pair one set at a time to avoid confusion.
- If devices auto-connect to the wrong one, try unpairing/resetting them:
- Most KCX modules reset by holding the button for 10+ seconds until a fast-flashing light or reboot.
- Label the modules physically for easier identification.
In theory, if each KCX_BT_Emitter is correctly paired with its intended receiver, the audio from Audio Player 1 should play only on Bluetooth Speaker 1, and audio from Audio Player 2 should play only on Bluetooth Speaker 2.
However, here are key conditions and caveats:
Requirements for isolation to work correctly:
-
Each emitter and receiver pair must be uniquely paired:
-
KCX_BT_Emitter on Audio Player 1 should be paired only with KCX_BT_Receiver on Bluetooth Speaker 1.
-
KCX_BT_Emitter on Audio Player 2 should be paired only with KCX_BT_Receiver on Bluetooth Speaker 2.
-
-
They must remain connected without cross-pairing:
-
If the emitters or receivers are not locked to a single device, there’s a chance one might auto-connect to the wrong receiver during startup.
-
-
Each KCX device should support simultaneous nearby operation without interference:
-
Most KCX_BT_Emitter modules are Bluetooth 5.0 or 4.2-based and should handle nearby operation, but cheap modules sometimes auto-pair with the last used device or with the strongest signal nearby.
-
Best Practices to Ensure It Works:
-
Label each KCX emitter and receiver pair to avoid confusion.
-
Power them on one at a time to pair and confirm the connection before operating both setups together.
-
If possible, check for audio output from only the intended speaker during testing.
-
Avoid pairing either emitter to more than one receiver, or vice versa, unless the device has memory for multiple stable pairings (rare in basic KCX modules).
Watch out for:
-
Auto-pairing issues: If a module is turned on and its previously paired device isn’t available, it may seek out another available device.
-
Identical device names: If both KCX_BT_Emitters show up with the same name, you might confuse them while pairing.
Video Demonstration
FREE HELP
If you have questions, comments or need help with this ,or any other project, or animating your own diorama or train layout scene, either go to our Free Help page click on the button to the right.