

The Model Scenery Static Grass Applicator
This page discusses making and using the Model Scenery Static Grass Applicator – a DIY kit for creating a 15 kV DC output static field to enhance your model scenery. Operable on 4.5 to 12.2 volts DC, this applicator connects seamlessly to standard 2.5 mm barrel jacks and DC power supply connectors, offering flexibility in power sources.
The fully assembled kit includes essential components such as a 15 kV DC generator, male and female banana connectors, a 2.5 mm barrel jack, a battery clip, a high-voltage insulated switch, and more. The assembly process is simplified, requiring no or optional minimal soldering.
Features
- -15 kv DC static field output
- Makes a more power static grass applicator than many much more expensive commercial applicators.
- Low cost, DIY easy to assemble that make is affordable for you to have your own powerful static grass applicator.
- Assemble your own static grass applicator in about one half hour. No soldering or special tools required.
- Uses a static field generator especially designed for static grass applicators.
- A 12 v DC input with 15 kv static field output unit that makes laying grass easy. No grass flying all over the place.
- Unique variable input to output voltage control allows you to work at output voltages as low as 7.5 kv DC.
- 12v DC input so that you do not have to work with 110 or 220 v power.
- The electronics are European Union Certified.
- Operates on voltage inputs from 4.5 to 12.2 volts DC
- Connects to standard 2.5 mm barrel jacks and DC power supply connectors
- Can be made portable without having bothersome wire
- Battery power option means one does not have to be near an electric outlet
- Flat profile keeps it in place on work area
- Low cost easy to assemble kit
- Powers many types of grass dispensers
- Quick and easy changing of static grass
The Applicator
 This image shows the fully assembled kit with an added strainer type grass hopper.
One can power it in one of two ways.
The 9vDC battery option is shown on the left. The 12v DC option is connected to the input power receptacle which is located at the bottom center.
The Parts
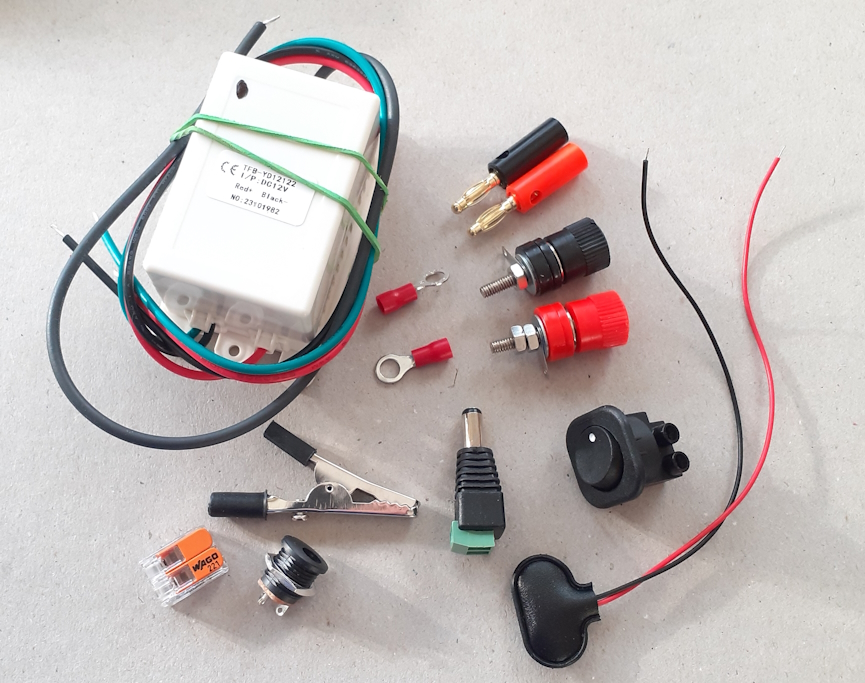 This image shows the parts, less the container, used to assemble the kit.
They are the 15kv DC generator, male and female banana connectors, two solderless connectors, a 2.5 mm barrel jack, a battery clip, a special high voltage insulated switch, an alligator clip. a female 2.5 mm power receptacle, and a Wago connector.
You supply the wires to connect to the grounding alligator clip, and the grass dispenser of your choice.
You can get the applicator kit here.
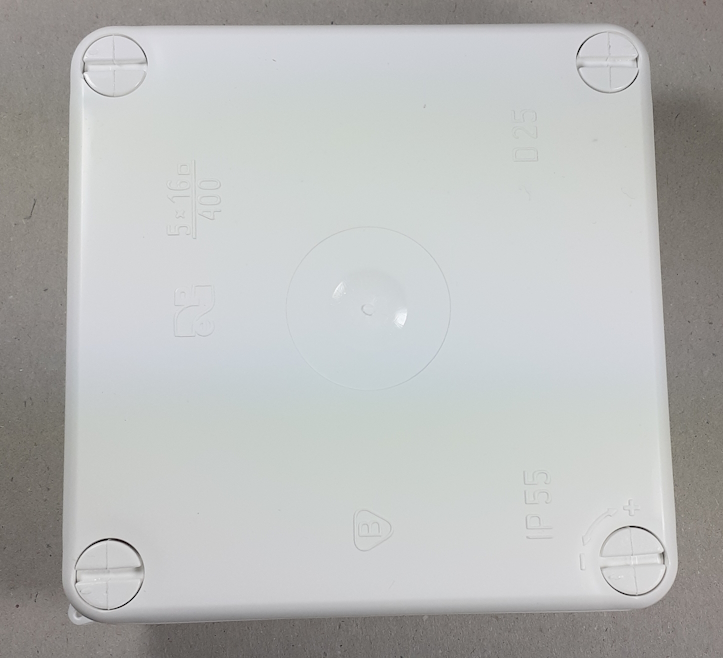
The container is high impact polystyrene box that measures 13 cm square by 4 cm deep.
Assembly
You can put this together without soldering. But if you have a soldering iron, do solder the the connectors and tin the wire tips. It makes connecting wires much easier. I will go forward soldering the connections.
We will start by setting up the generator.
Trim the wires on the generator as follows.
 Green 14 cm, red, 14 cm, thin black 17 cm and the thick black 15 cm.
Tin the ends of the wires
Solder connectors to the ends of the green, and thick black.
 Your kit comes with the next few steps completed. This is what the completed piece looks like.
But if you want to use different wire lengths, just slide the shrink tube back and disconnect the wires. Then go forward as below.
Cut the trimming from the red wire 8mm. Trim both ends and tin.
Cut the trimming from the black wire 8mm Trim both ends and tin
 Cut the third tab from the power receptacle.
The large tab is positive. The small tab is negative.
Solder the trimmed pieces to the receptacle.
Cover the joints with shrink tube, hot glue or some other insulating medium.
Now we move onto the container.
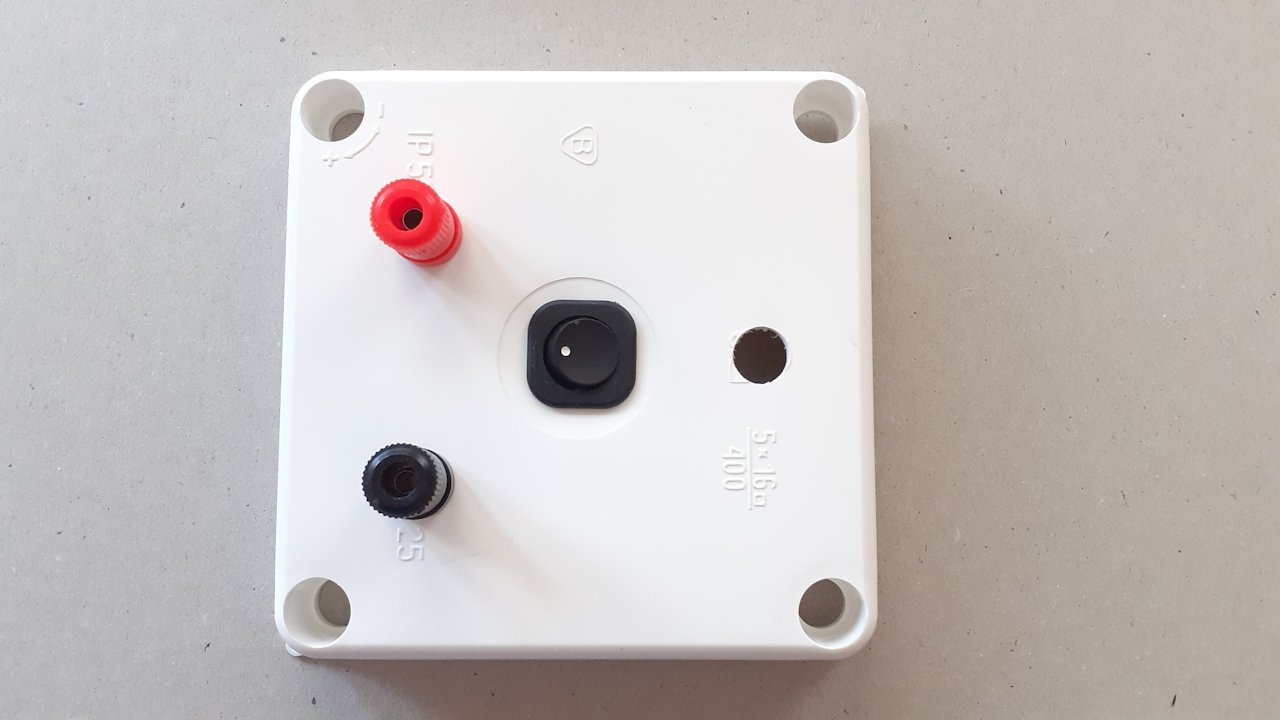 Dill holes in the container top. A step drill makes this process extremely easy.
The hole for the switch is 20mm. For the female banana clip connectors 4mm and for the female power plug receptacle 11mm.
 Insert the power receptacle, tighten the nut and add the Wago clip to the end of the black wire.
The tip of the red wire is connected to the switch.
 Now add the generator. Note carefully how the generator is placed and the wires run between connection points.
It is important to follow this exactly so that you can close the container.
 This is what you have with the container closed.
You can power the applicator with a 9v DC battery attached to the battery clip. You can see it at the top right in the image.
You can also use a standard 12v DC power source such as a wall-wart. The white tip of a wall-wart at the center bottom of the image.
Run wires from the male banana clip connectors to the alligator clip and dispenser.
This is what it looks like when wired up in my favorite configuration.
The small strainer is but one of many types of grass hoppers that you can use with this static grass applicator.
The power source I use depends on my surroundings. If the wire from the wall-wart would be a bother, I shift to the battery.
The generator is so powerful that I hardly see any degradation in performance when using the battery.
As a matter of fact, many of our customers have told us that they use the battery all the time.
Dispensers And Other Tools For Modeling
The page under this link shows you how many different types of dispensers that you can use. The information is well worth reading. Click here.
Video Demonstration
To watch us use this laying static grass, click either on the image or here. LLLLL
Feedback
Your questions and comments help us clarify and upgrade the information presented. Even if you find this helpful, please tell us.
Please let us know if this page has been helpful And if you have questions or suggestions, use this spam free system.
Or use the green WhatsApp button that is to the right.